Here’s a detailed guide on how to connect a printer to Wi-Fi:
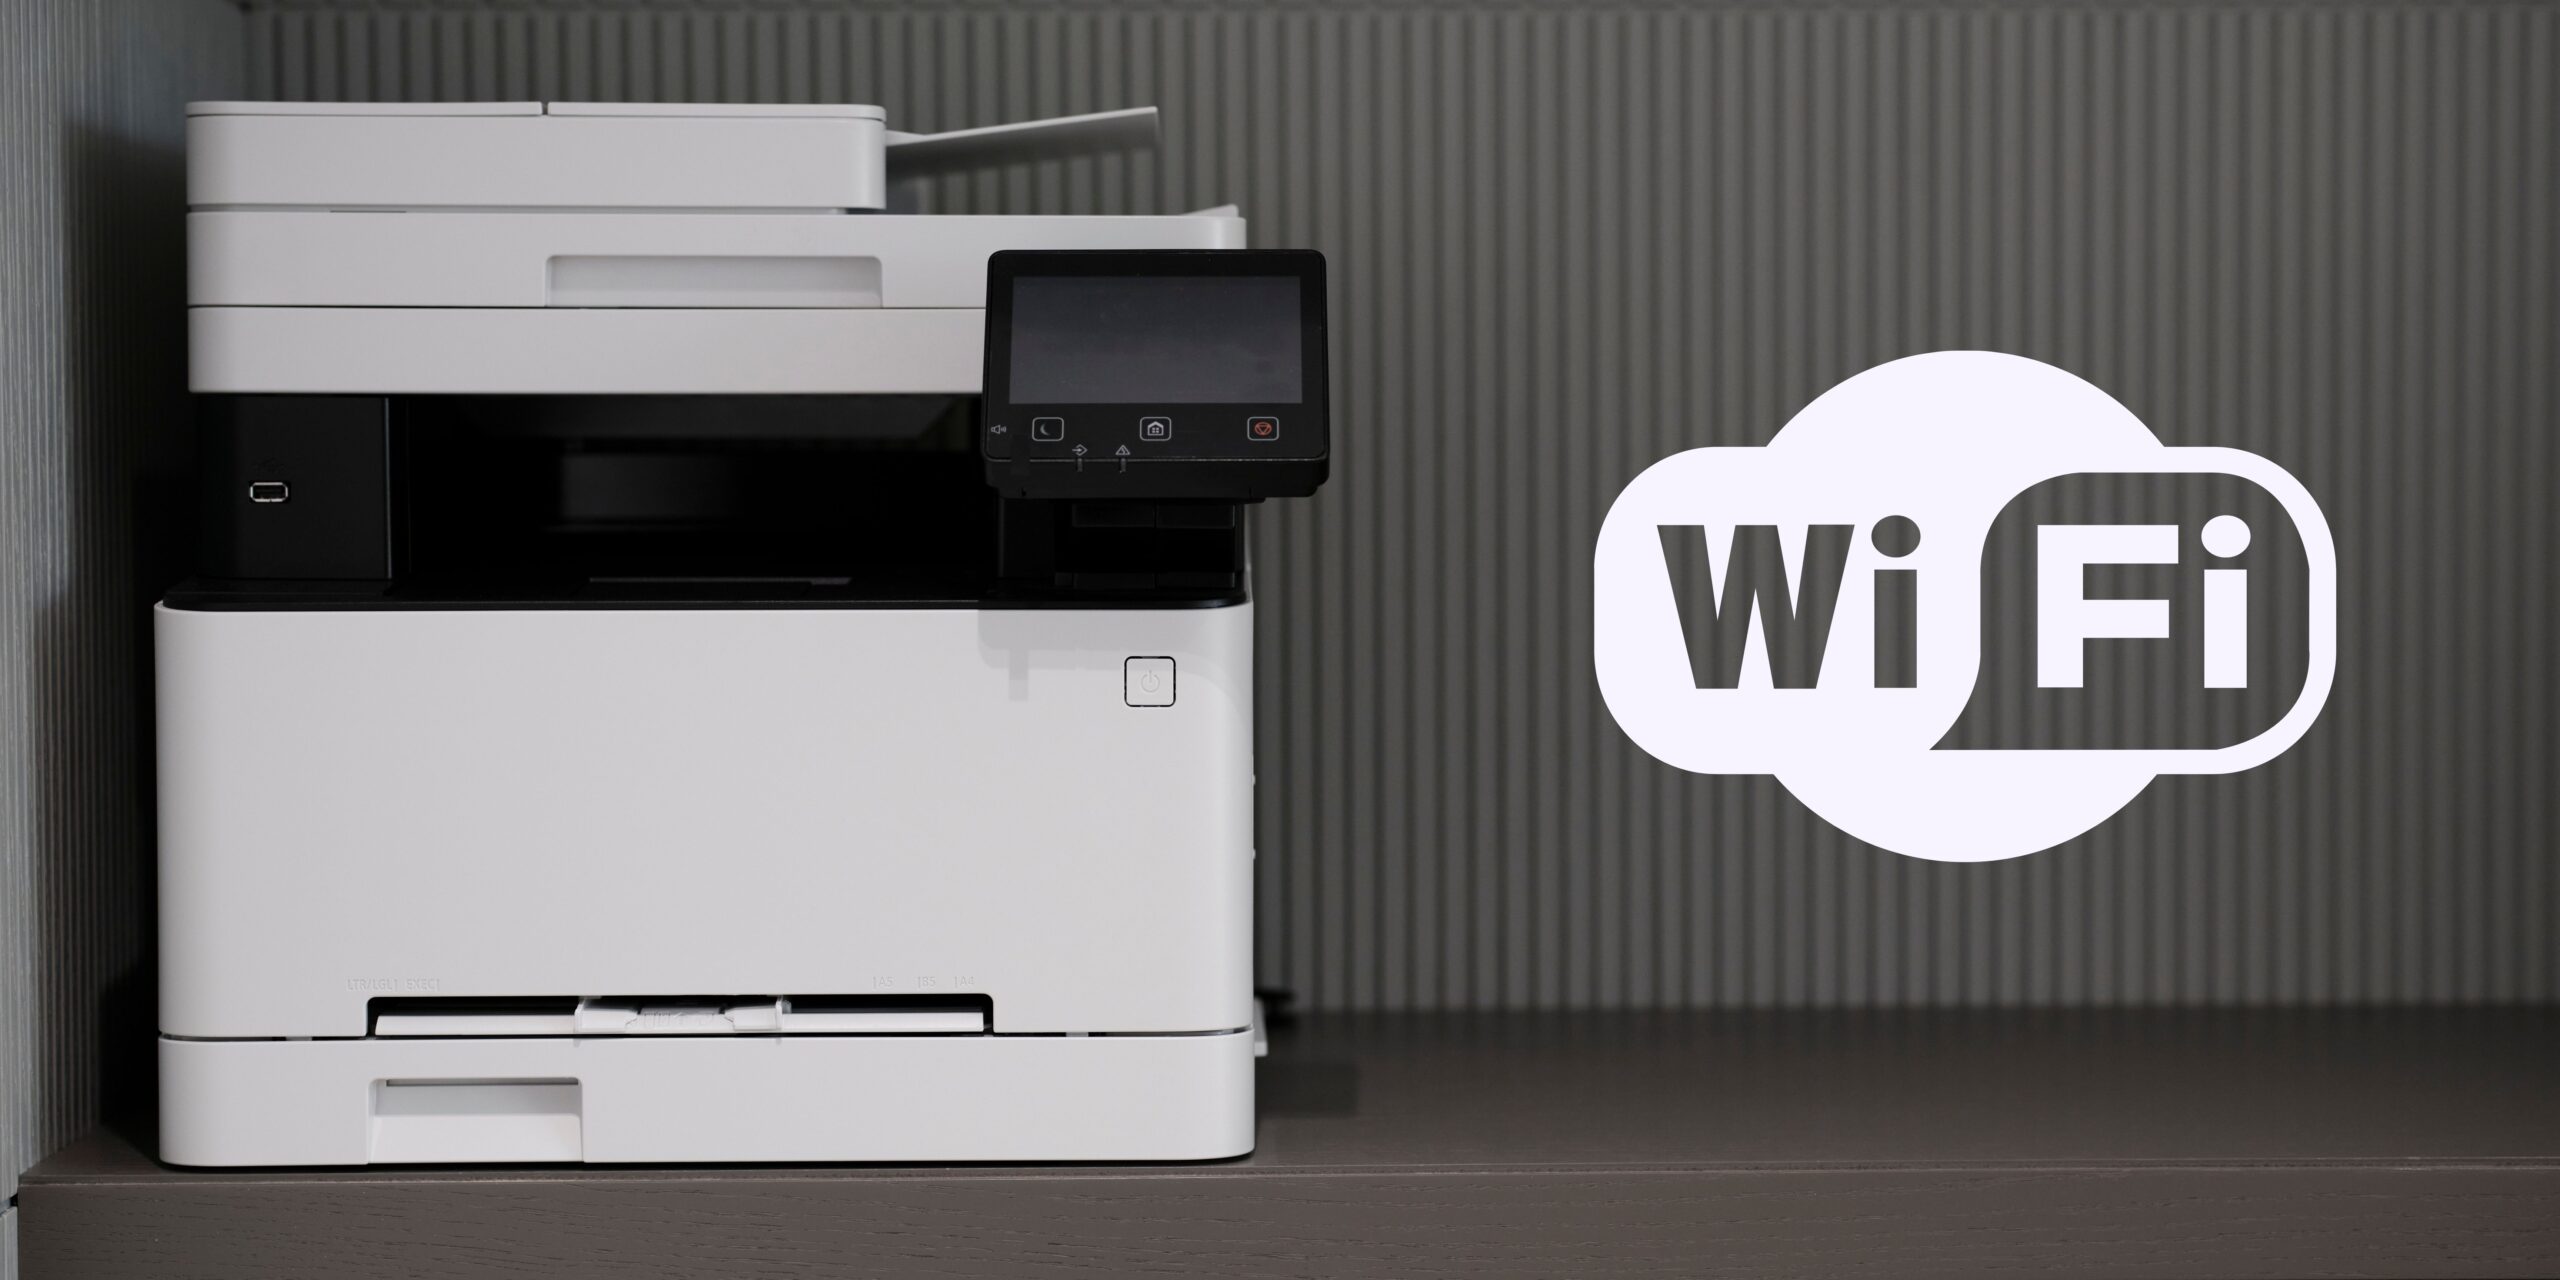
How to Connect a Printer to Wi-Fi
Connecting your printer to Wi-Fi allows you to print wirelessly from your computer, smartphone, or tablet. Follow these steps to set up your printer on your home network:
1. Restore Wi-Fi Setup Mode on the Printer
Many HP printers have a Wi-Fi setup mode that helps the software connect your printer to the network. To restore Wi-Fi setup mode:
- Touchscreen Printers:
- Open the Wireless or Setup menu.
- Select Network setup or Settings.
- Choose Restore Network Settings.
- Printers without a Touchscreen:
- Refer to your printer’s manual for specific button presses.
2. Install the HP Smart App
Use the HP Smart app to set up the printer on Wi-Fi:
- Download the HP Smart app from 123.hp.com or your app store.
- Create an account or sign in.
- Follow the guided steps to add the printer and set up the wireless connection.
3. Additional Wi-Fi Connection Options
If you changed your router or local network is unavailable, try these methods:
- Wireless Setup Wizard (Touchscreen Printers):
- Place the printer near the Wi-Fi router.
- Open the Setup, Network, or Wireless settings menu.
- Select Wireless Setup Wizard.
- Enter your network name and password.
- Wi-Fi Protected Setup (WPS):
- If your printer supports WPS, use it to connect quickly.
- Press the WPS button on your router and follow printer instructions.
Remember to keep your printer within range of the Wi-Fi router for optimal performance. Now you’re ready to print wirelessly!
Feel free to ask if you need further assistance!